
 how-to
How to Fix Common Lifting Form Mistakes
Table of Contents
- Why Lifting Form Matters: The Cost of Poor Technique
- Common Weightlifting Mistakes and How to Spot Them
- Weightlifting Form Check: A Self-Assessment Process
- Common Squat Form Mistakes and Corrections
- Deadlift Form Mistakes: Key Checkpoints and Fixes
- Correcting Your Form: Practical Steps and Cues
- Choosing the Right Weight for Proper Technique
- Pain, Discomfort, and When to Stop
- Frequently Asked Questions
Last Updated: October 9, 2026
Why Lifting Form Matters: The Cost of Poor Technique
Lifting with poor form is like building a house on a cracked foundation. The structure might stand for a while, but it's only a matter of time before something breaks.
Bad lifting form leads to two serious problems. First, you don't build muscle as effectively. Your muscles don't get the tension they need to grow. Second, you get hurt.
The good news: fixing your lifting form mistakes is straightforward. Most errors come from a few common patterns. Once you spot them, you can correct them quickly.
At DailyStrength, we help users of all levels build muscle safely. Our app includes nearly 400 exercises.
Common Weightlifting Mistakes and How to Spot Them
Most lifters make the same errors repeatedly. These three mistakes show up in nearly every gym.
Rounding Your Back During Deadlifts
A rounded back during deadlifts is the most dangerous lifting form mistake you can make. Your lower back takes all the load instead of your legs and hips.
How to spot it: Stand to the side and watch. Your spine should form a straight line from your head to your hips. If your lower back curves forward, you're rounding. Your shoulders might also be in front of the bar instead of directly over it.
Why it happens: Most people start the deadlift by bending their knees too much. This shifts the bar forward. Your back rounds to compensate. The fix is simple: keep the bar close to your body and start with your hips higher.
Knees Caving Inward During Squats
Knees caving inward (called "valgus collapse") means your knees track toward the middle of your body instead of over your toes. This puts dangerous stress on your knee ligaments.
Watch for it: During a squat, your knees should form a straight line with your toes. If your knees collapse inward, you'll see them move past your big toe.
This happens because your glutes are weak or your core isn't braced. Your body takes the path of least resistance. The solution involves two steps: brace your core hard before the squat, and focus on pushing your knees outward as you descend.
Elbows Flaring Too Wide on Bench Press
When your elbows flare too wide during bench press, your shoulders take over instead of your chest. Your elbows should form roughly a 45-degree angle from your body.
You'll notice this if your elbows point straight out to the sides. A good bench press keeps your elbows tucked closer to your ribs. This protects your shoulder joints and keeps tension on your chest where it belongs.
Most people flare their elbows because they're trying to lift heavy weight without proper form. Lighten the load and focus on keeping elbows at 45 degrees.
Weightlifting Form Check: A Self-Assessment Process
You can't fix what you can't see. A simple self-check process helps you identify problems before they cause injury.
Step 1: Record yourself Use your phone to film your lifts from the side and from the front.
Step 2: Check your starting position Before the lift even starts, is your body aligned? Are your feet shoulder-width apart?
Step 3: Watch the movement Play the video back slowly. Pause at the bottom of the lift.
Step 4: Compare to the ideal Know what good form looks like for each lift.
Step 5: Make one change at a time Don't try to fix five things at once.
This process works because it's specific. You're not guessing. You're seeing exactly where your form breaks down.
Common Squat Form Mistakes and Corrections
Squats are one of the most common exercises, which means they're also one of the most commonly done wrong.
Knee Alignment and Depth Issues
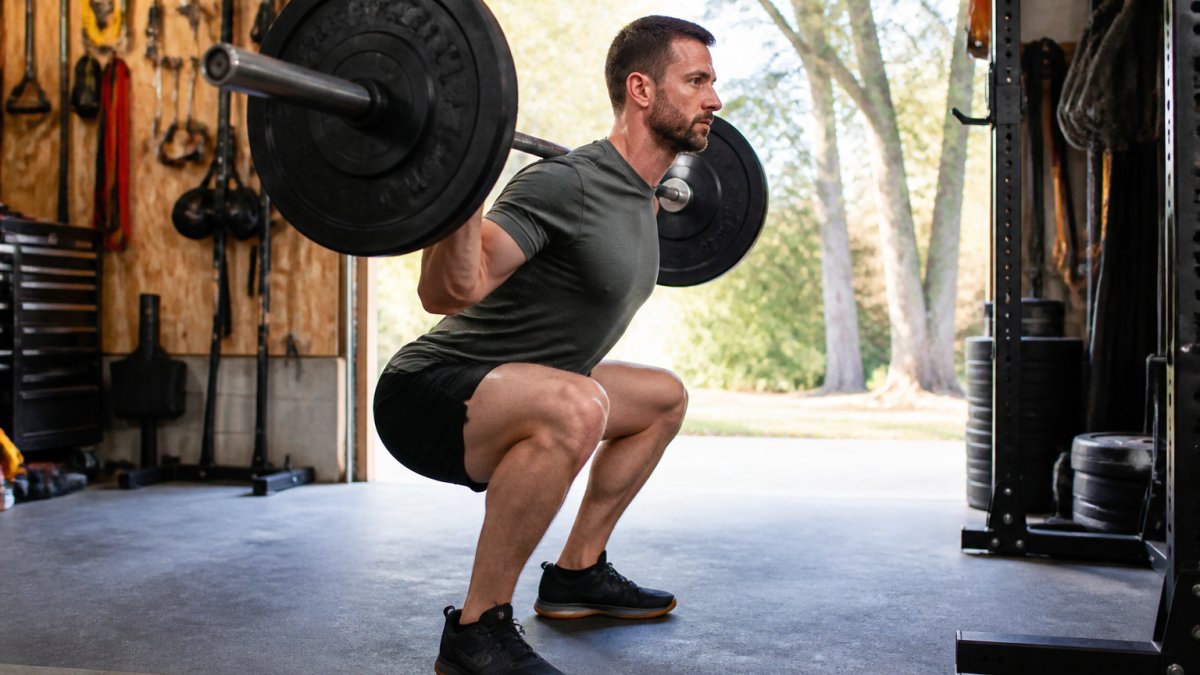
Your knees should track over your toes throughout the entire squat. They shouldn't cave inward, and they shouldn't shoot forward past your toes either.
The fix: Before you squat, activate your glutes. Squeeze your glute muscles hard. This creates tension that keeps your knees aligned. As you descend, think about pushing your knees outward. Your feet should stay flat on the ground.
Depth is also critical. Many lifters don't squat deep enough. A proper squat goes until your hip crease is at or slightly below your knee.
If you can't reach depth, your mobility might be limited. Spend time stretching your hips and ankles. Use a lighter weight until you build the range of motion you need.
Torso Position and Core Bracing
Your torso should stay upright during a squat. A forward lean means your lower back is doing too much work. Your core needs to stay tight throughout.
The fix: Before you start the descent, take a big breath into your belly. Brace your core like you're about to take a punch. Keep this tension as you squat down and stand back up. This bracing protects your spine and keeps your torso upright. Maintaining this rigid midsection control during heavy lifts serves as a foundational step toward improving your posture throughout your daily routine.
Your chest should stay up. If your chest caves forward, you're losing that upright position. Think "proud posture." This small cue helps many lifters maintain proper form.
Deadlift Form Mistakes: Key Checkpoints and Fixes
The deadlift is simple in theory: pick up a weight from the ground. In practice, small form errors create big problems.
Starting Position and Hip Drive
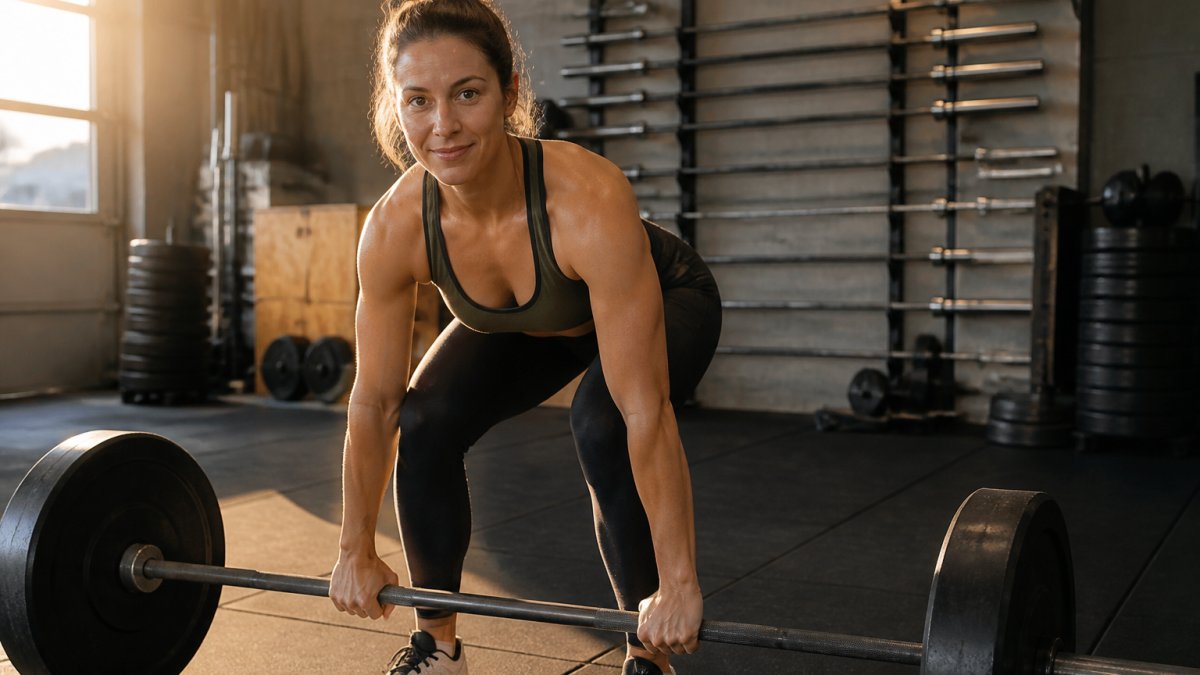
Your starting position determines everything that follows. Your feet should be hip-width apart. The bar should be over the middle of your foot (not your toes). Your shoulders should be directly over the bar.
The fix: Before lifting, push your hips back slightly. Your shins should be nearly vertical. This position lets your legs drive the weight up instead of your back pulling it. Many lifters bend their knees too much at the start, which shifts the bar forward and rounds the back.
Hip drive is the key to a strong deadlift. Your hips and legs should do most of the work. Think about pushing the ground away with your feet rather than pulling the bar up with your arms.
Neutral Spine and Lower Back Protection
Your spine should maintain a neutral position from the moment you touch the bar until you finish the lift. Neutral means no rounding and no excessive arching.
The fix: Before you lift, take a big breath and brace your core. This creates internal pressure that supports your spine. Keep your chest up and your lats engaged. Your lats are the muscles on the sides of your back. Engaging them helps keep your spine stable.
If you struggle to maintain neutral spine, the weight is too heavy. Drop down and focus on form. You'll build more muscle with lighter weight and perfect form than heavy weight and bad form.
Correcting Your Form: Practical Steps and Cues
Once you've identified your form mistakes, the correction process is straightforward.
Step 1: Reduce the weight Cut your weight by 20-30%.
Step 2: Use form cues Form cues are short phrases that trigger the right movement.
Step 3: Practice the movement pattern Do 3-5 sets of 5-8 reps with perfect form.
Step 4: Gradually increase weight Once form feels natural, add weight slowly. Add 5-10 pounds per session.
Step 5: Film yourself regularly Check your form every few weeks. As you get stronger, form can drift. Regular video checks catch problems early.
This process takes patience. You're rewiring movement patterns that might have been ingrained for months or years.
Choosing the Right Weight for Proper Technique
One of the biggest mistakes lifters make is using too much weight. Heavy weight feels good in the moment, but it forces bad form.
The right weight is the heaviest weight you can lift with perfect form for all your reps. If your form breaks down on the last rep, the weight is too heavy.
Here's how to find it:
Start light. Use a weight that feels almost too easy for the first set. Do your reps with perfect form. If form is flawless, add 5-10 pounds for the next set. Keep adding weight until your form starts to slip. Back off by 5-10 pounds. That's your working weight.
This approach takes discipline. Your ego might want to load up the bar and struggle. But struggling with bad form builds nothing except bad habits and injury risk.
Most lifters can build significant muscle with moderate weights. Progressive overload (gradually increasing weight or reps over time) works better than jumping to heavy weight with poor form. Add one more rep or 5 pounds per week.
Pain, Discomfort, and When to Stop
Muscle fatigue feels different from pain. Learning the difference is critical.
Muscle fatigue is a burning sensation in the muscle you're working. It feels like the muscle is working hard.
Pain is sharp, sudden, or localized to a joint or connective tissue. Pain is your body's warning signal.
Here's the rule: if you're not sure, stop. There's no prize for pushing through potential injury.
Some discomfort is normal when learning new movements or increasing weight. Your body adapts. But sharp pain is not normal.
Common pain signals that mean stop:
- Sharp pain in your lower back
- Sharp pain in your knees
- Sharp pain in your shoulders
- Pain that doesn't go away after the set
Muscle soreness is different from pain. Soreness develops over hours and feels like an ache. Pain is immediate and sharp.
Fixing your lifting form mistakes is one of the best investments you can make in your fitness. Better form means faster muscle growth and fewer injuries.
DailyStrength helps you maintain proper form with our curated exercise library and personalized workout plans.
Frequently Asked Questions
How can I tell if my lifting form is wrong?
Poor lifting form often shows as compensatory movements: your body shifts weight unevenly, joints feel unstable, or you struggle to control the weight through the full range of motion. Pain during or after lifting is a red flag. Film yourself from the side or front, or ask a training partner to watch. Common signs include rounding your back on deadlifts, knees caving inward on squats, or elbows flaring excessively on pressing movements. If the weight feels awkward or you're relying on momentum rather than controlled repetitions, form is likely compromised.
What should I do if I feel pain while lifting?
Sharp or shooting pain signals an immediate stop. Distinguish between muscle burn (expected during hard work) and joint or structural pain (a warning). If pain occurs, lower the weight immediately, reduce your range of motion, or skip that exercise. Pain often indicates incorrect form, inadequate warm-up, or weight selection that's too heavy. If pain persists across sessions, take 2-3 days off that movement and reassess your technique. Consistent pain warrants consultation with a physical therapist or coach before resuming.
How do I know when to lower the weight to improve my lifting form mistakes?
Lower the weight if you cannot complete every repetition with controlled movement. If the final reps force you to round your back, jerk the weight, or lose neutral spine, the load is too heavy. A good rule: you should maintain perfect form for at least 80% of your working sets. Dropping weight by 10-20% often reveals form breakdowns you didn't notice at heavier loads. Use lighter weight for 2-3 weeks to build movement patterns, then progress gradually. Progressive overload works only when technique stays solid.
What are the most common mistakes beginners make when lifting?
Beginners typically skip warm-up sets, jump straight to heavy weight, and rush repetitions. They often choose weight based on ego rather than actual control, leading to momentum-driven lifts and poor range of motion. Neglecting core bracing, neutral spine awareness, and shoulder position is common. Many ignore pain signals or assume soreness means progress. Inconsistent training and lack of movement practice compound these errors. Starting with lighter loads, filming workouts, and focusing on controlled repetitions for 4-6 weeks builds proper movement patterns that pay dividends as weight increases.